The emergence of AI has greatly transformed the way we create and work. Now, we can use simple text prompts to have AI help us generate high-quality images.
Many writers also choose to use AI-generated images when writing articles.
There are quite a few AI tools available now, including Bing, Midjourney, DALL-E 3, Canva, and so on, as well as the Stable Diffusion 3 (SD3) Medium I’m focusing on introducing today.
Stable Diffusion 3 (SD3) Medium was officially open-sourced on June 12th. I also mentioned this event in a previous article.
Stable Diffusion 3 Open Release Date Announced! AMD Acquisition? Is there any truth to the rumors of an AMD acquisition of Stability AI?
To experience SD3 Medium firsthand, I tested it locally and would like to share with you how to run SD3 Medium locally and some of the images I generated during testing.
Recommended Tool for Local Deployment of SD3: ComfyUI
ComfyUI provides a visual interface that makes the local deployment of SD3 simple and intuitive. You can access ComfyUI through the following link: ComfyUI on GitHub
Deployment Steps
- Download and Install ComfyUI:
- Ensure you have the latest version of ComfyUI that supports SD3.
- If you have already installed ComfyUI, run
git pull origin masterto get the latest SD3 nodes.
- Download SD3 Medium Package:
- Download the smallest SD3 Medium package (4.34GB) which does not include text encoders. You can download it from here.
- Place
sd3_medium.safetensorsin theComfyUI/models/checkpoints/directory.
- Download Required Models:
- Download the required models (
clip_g.safetensors,clip_l.safetensors,t5xxl_fp8_e4m3fn.safetensors) from here and place them in theComfyUI/models/clip/directory.
- Download the required models (
- Download Example Workflows:
- Download the example Comfy workflows from here.
Hardware Requirements
To run SD3 Medium locally, it’s important to have a robust hardware setup. Here’s a recommended configuration for optimal performance:
- GPU: A high-end GPU with at least 8GB of VRAM (e.g., NVIDIA RTX 3080, 3090, or A100). Using GPUs like the NVIDIA RTX 4090 or A100 can significantly speed up the image generation process.
- CPU: A multi-core processor (e.g., Intel i7/i9 or AMD Ryzen 7/9) to handle the initial processing and other background tasks.
- RAM: At least 16GB of RAM, but 32GB or more is recommended for handling large models and datasets.
- Storage: SSD with ample space (at least 500GB) to store models, datasets, and generated images.
User Guide
- Launch ComfyUI:
- Start ComfyUI and visit
http://127.0.0.1:8188to access the user interface.
- Start ComfyUI and visit
- Load the Basic Workflow:
- In the interface, load the basic workflow.
- Modify checkout to select
sd3_medium.safetensors. - Modify
chip1,chip2, andchip3to select the corresponding model files.
- Generate Images:
- Enter your prompt and click the “Queue Prompt” button in the upper right corner to start generating images.
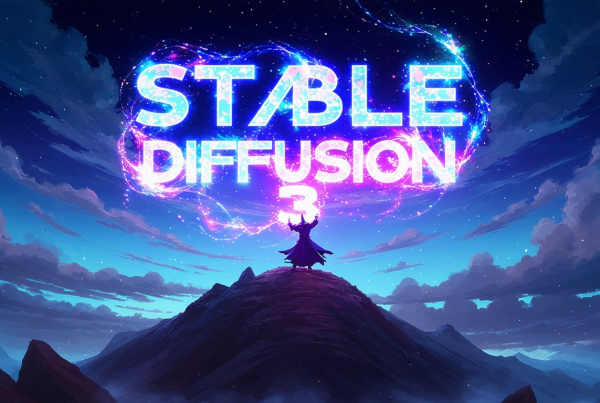
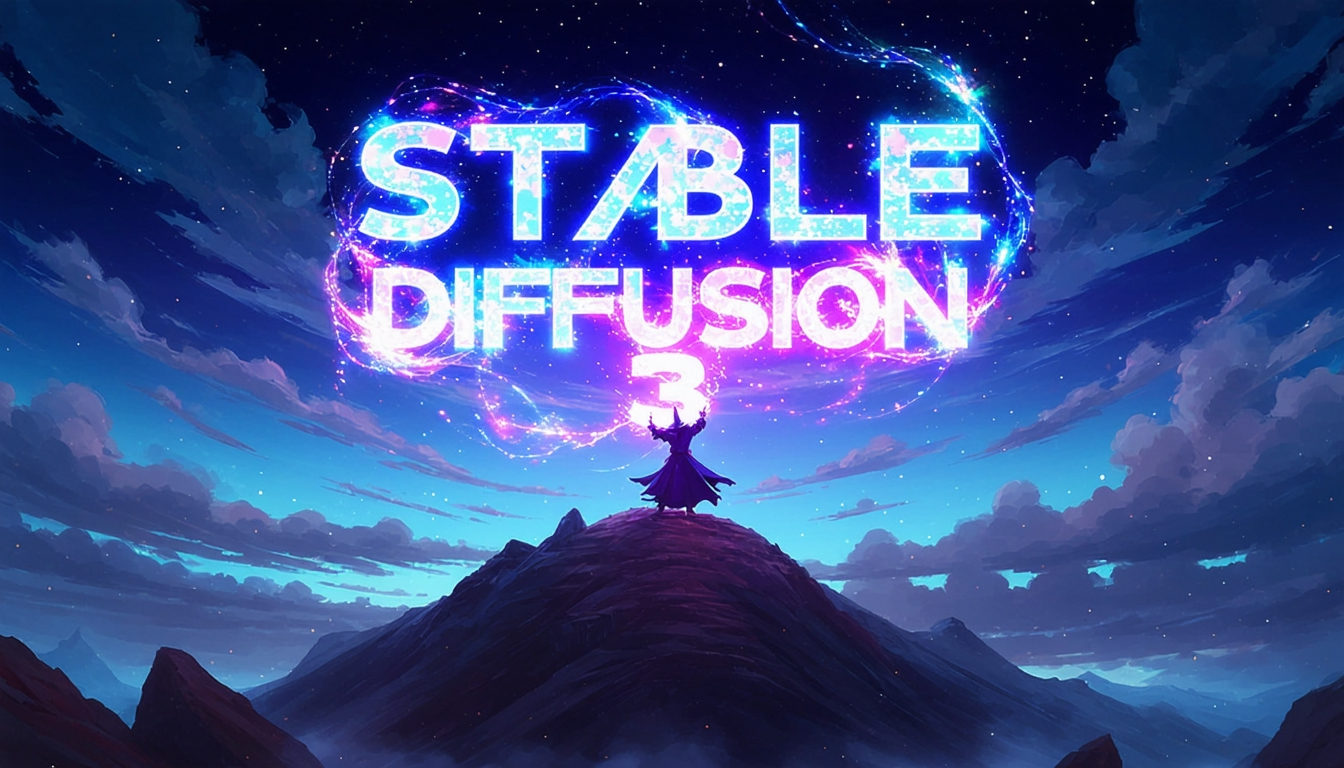
Effect Demonstration
Here are several images I generated using SD3:
- Prompt: A majestic dragon soaring over a medieval castle, with fire streaming from its mouth, illuminating the night sky. The castle is surrounded by dense forest, and the moonlight reflects off the dragon’s scales.

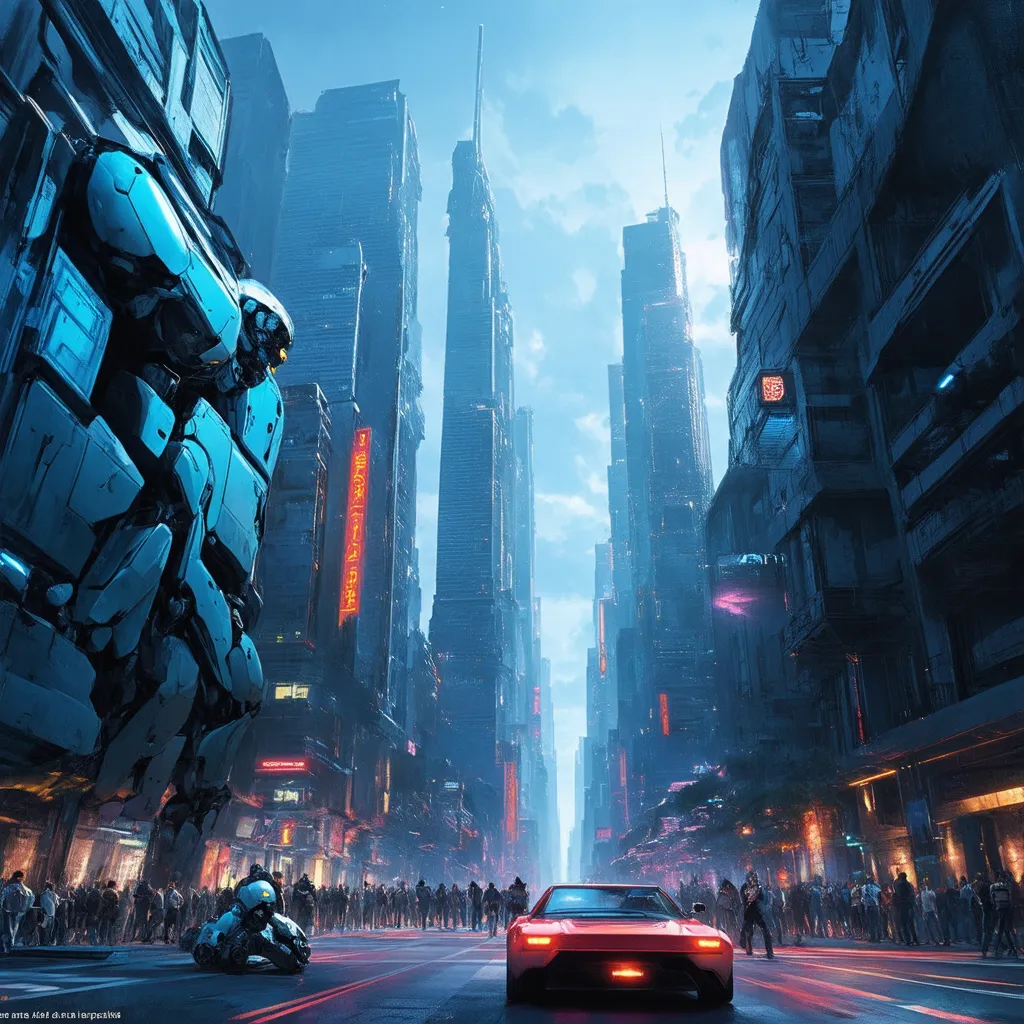
- Prompt: A futuristic cityscape at dusk, with towering skyscrapers, flying cars, and neon lights. The streets are bustling with robots and humans interacting harmoniously.

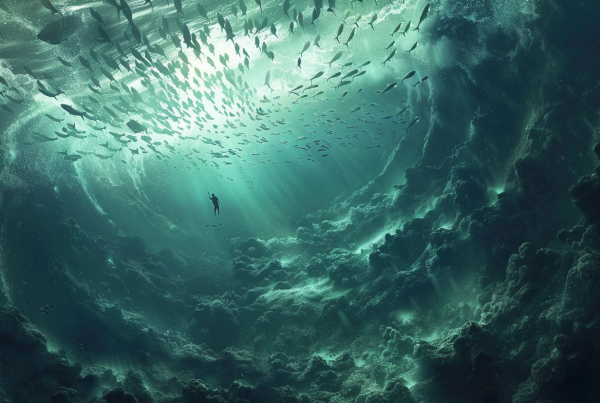
- Prompt: An underwater scene featuring a vibrant coral reef teeming with exotic fish, sea turtles, and a scuba diver exploring the depths. Sunlight filters through the water, casting a serene glow.
- Prompt: A cozy mountain cabin during winter, with snow-covered rooftops, smoke rising from the chimney, and a golden retriever playing in the snow outside. The surrounding pine trees are dusted with snow, and the mountains loom in the background.
Conclusion
For an open-source product, such results are already very commendable. Please do not be overly critical, but appreciate the innovation and convenience it brings.
Pros and Cons of Local vs. Cloud Deployment
Local Deployment
Pros:
- Control: Complete control over the hardware and environment, allowing for customized configurations.
- Privacy: Data and models remain on your local machine, enhancing data security and privacy.
- Performance: Potential for high performance if equipped with powerful hardware, without dependency on internet connectivity.
Cons:
- Cost: High initial investment in powerful hardware (GPUs, RAM, storage).
- Maintenance: Responsibility for maintaining and upgrading hardware and software.
- Scalability: Limited by local hardware capacity; scaling up can be costly and complex.
Cloud Deployment (e.g., Hugging Face)
Pros:
- Scalability: Easily scale resources up or down based on demand, ideal for handling large workloads or fluctuating usage.
- Cost Efficiency: Pay-as-you-go model reduces initial investment and operational costs.
- Maintenance: Managed services reduce the need for manual maintenance and updates.
- Accessibility: Access your models and data from anywhere with an internet connection.
Cons:
- Dependency: Reliance on internet connectivity and cloud service providers.
- Privacy: Potential concerns over data security and privacy, especially with sensitive information.
- Latency: Possible latency issues depending on the network and data transfer speeds.
I encourage everyone to try running SD3 locally and share your experiences and thoughts with me.